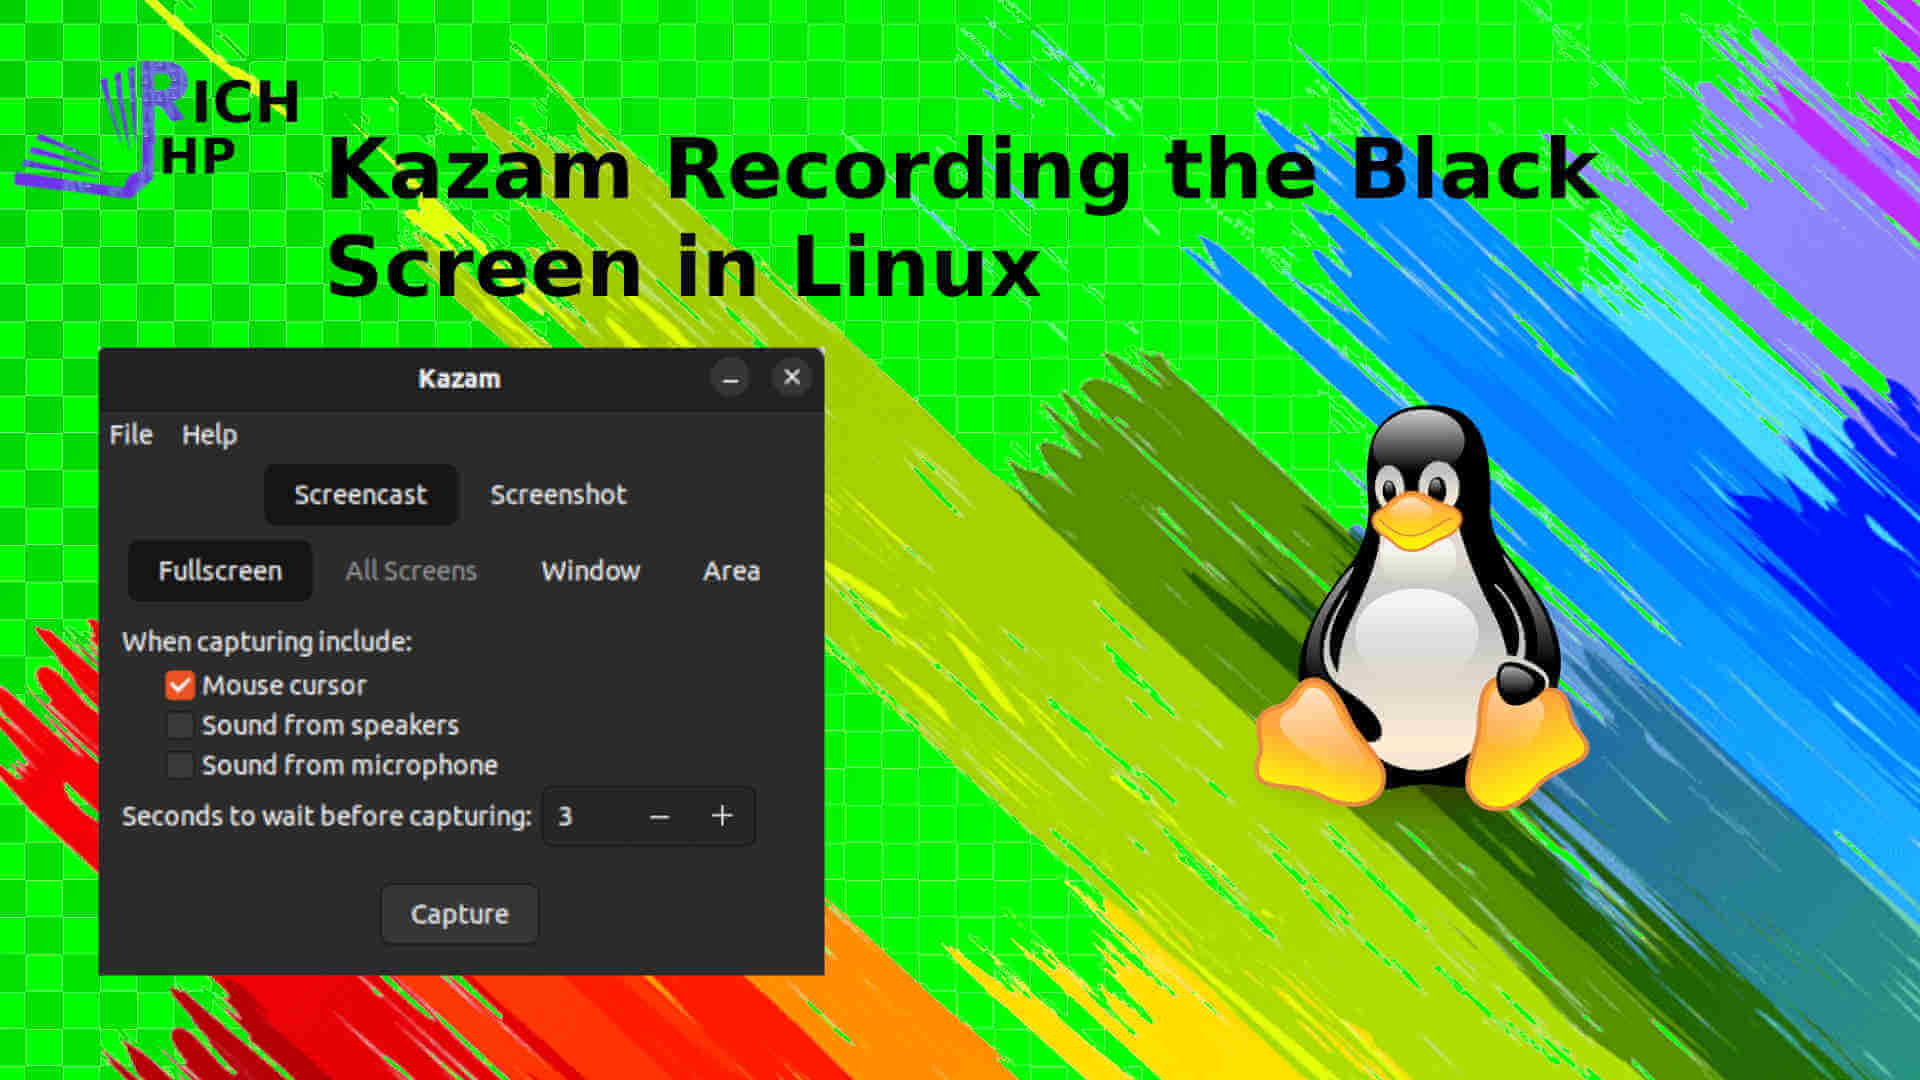
Kazam Recording the Black Screen in Linux

Introduction
In this article, we will solve an issue related to the kazam screen recorder. It records a black screen when you install kazam first time on ubuntu 22.04.
What is kazam?
Kazam is a free and open-source screen recording tool for Linux operating systems. It allows users to capture their screen and audio, and create video files in different formats such as MP4, WebM, or AVI. Kazam offers various features such as the ability to select a specific area of the screen to record, record from a webcam, and pause and resume recording. It also allows users to capture the mouse cursor, highlight clicks, and add annotations during recording. Kazam is commonly used for creating video tutorials, demonstrations, and presentations.
Kazam recording a black screen in Linux can occur due to various reasons, such as graphics card driver issues, incompatible video codecs, or problems with the Xorg display server.
This error occur because of Xorg video server
What is XORG video server?
Xorg is the default display server used in Ubuntu and many other Linux distributions. It provides the graphical user interface (GUI) for the operating system and manages the input and output devices, such as the keyboard, mouse, and display. Xorg is responsible for rendering the windows, icons, and graphics of desktop applications, and it enables users to interact with them using various input devices.
Xorg uses a client-server model, where the server manages the hardware and communication with input and output devices, and the clients are the desktop applications that use the server's services to display their graphical user interface. Xorg also supports a wide range of display drivers and hardware configurations, allowing it to work with various graphics cards and monitors.
For solving this problem we have to disable the XORG video server.
/etc/gdm3/custom.conf File
- /etc/gdm3/custom.conf is a configuration file used by the GNOME Display Manager (GDM) version 3. It allows system administrators to customize various settings related to the login screen and the way users log in to the system, such as enabling automatic login, setting the default session, or enabling guest sessions.
- Open the File /etc/gdm3/custom.conf
- $sudo nano /etc/gdm3/custom.conf
- Original File
-
# GDM configuration storage # # See /usr/share/gdm/gdm.schemas for a list of available options. [daemon] # Uncomment the line below to force the login screen to use Xorg #WaylandEnable=false # Enabling automatic login # AutomaticLoginEnable = true # AutomaticLogin = user1 # Enabling timed login # TimedLoginEnable = true # TimedLogin = user1 # TimedLoginDelay = 10 [security] [xdmcp] [chooser] [debug] # Uncomment the line below to turn on debugging # More verbose logs # Additionally lets the X server dump core if it crashes #Enable=true - Edit the file just remove # that are on line number 7 i.e; #WaylandEnable=false
- #WaylandEnable=false
- To
- WaylandEnable=false
- Final edited File
-
# GDM configuration storage # # See /usr/share/gdm/gdm.schemas for a list of available options. [daemon] # Uncomment the line below to force the login screen to use Xorg WaylandEnable=false # Enabling automatic login # AutomaticLoginEnable = true # AutomaticLogin = user1 # Enabling timed login # TimedLoginEnable = true # TimedLogin = user1 # TimedLoginDelay = 10 [security] [xdmcp] [chooser] [debug] # Uncomment the line below to turn on debugging # More verbose logs # Additionally lets the X server dump core if it crashes #Enable=true - Finally, restart ubuntu from the menu or type the command:
- $sudo reboot
- After rebooting the PC start it normally you will see kazam recorder start working correctly.
- That's it guys for today.
- Hope you learn something new today.
- Please keep supporting us.
- Thank you
- Bye-bye


